About This Post
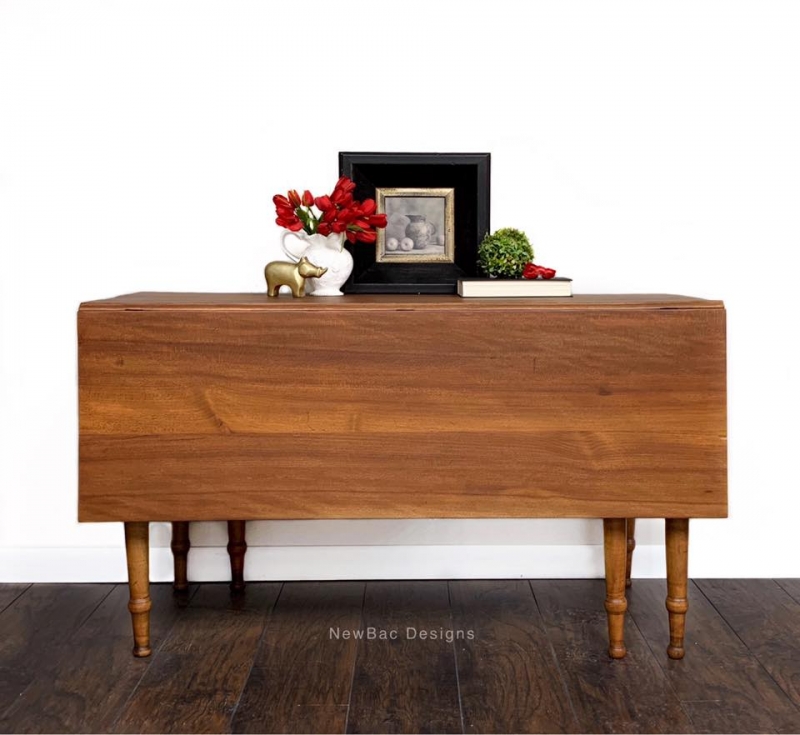
Charming, charming and more charming! This sweet piece of my clients family history is done and has gone back home!
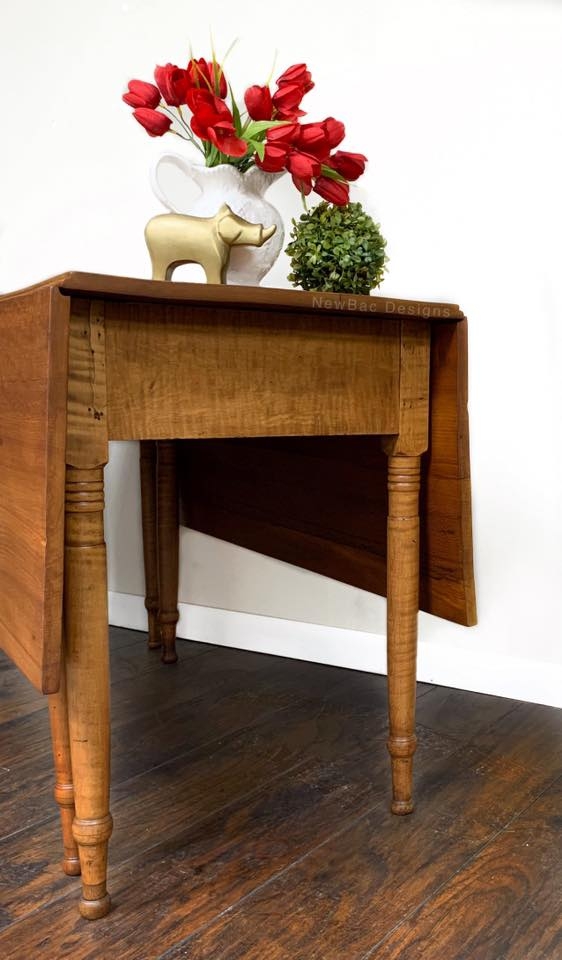
The entire table was stripped of its old finishes revealing several different woods used to build it. The legs and end panels are curly maple, a couple of the little feet are oak, the side panels where the sweet, handmade hinges are are walnut and the inside side panels are mahogany. The three tabletop panels are a mystery. It has the wood tone of red oak but not the texture. It’s not “creamy” when sanding like the maple and not as hard. It wasn’t pale enough to be pine. But it stained like a dream and the grain is stunning!
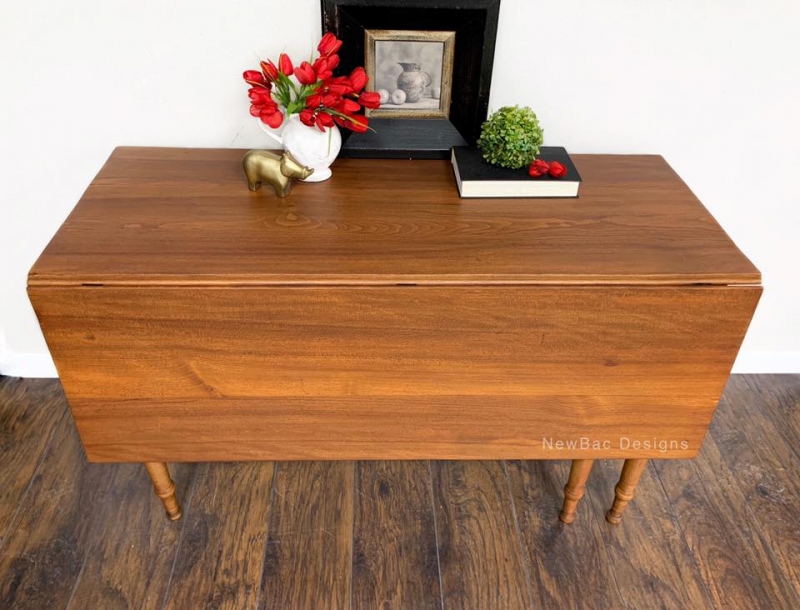
After removing all of the stain, I repaired two of the tabletop panels. Wood planks were used to build it and over time, they had separated. One of the panels, dowels had been used so I removed all of the old glue by sanding, reglued and clamped for 24 hours. The other panel had no dowels so, after sanding off the old glue, we added them for extra stability, glued and clamped. There were still some visible gaps, so I added some of the stain I would be using to the wood putty and filled the gaps so they would blend in. Once all of the repairs were made, the table was ready to stain. I used Charles Neil’s pre color conditioner and blotch control to ensure the wood would take the stain evenly. The stain color my client chose is General Finishes Candlelight oil based stain. This is the third piece with three different woods ( haha this table alone had 4 identified woods) she’s had done in Candlelight and I absolutely love it every time! It’s scary opening the can because it’s very orange-y colored but on wood it’s so warm and so so rich looking. I used two coats of stain, waited 72 hours then applied water based topcoat in flat.
The tabletop panels are attached with metal hinges and all of the old screws had rusted and were a mishmash of sizes and shapes. I replaced all of the screws and cleaned up the old rusty hinges. Side note-most old furniture, especially handmade furniture, is hinge/drawer/hardware specific i.e. the wood was cut to fit the hinge/the drawer will only fit in its specific slot/when reusing original pulls they need to go back where they came from. I number/label everything so it’s sure to fit as properly as possible. Tomorrow I’ll show you what we did to the old screw holes so we could replace the screws and they would be tight and secure.
Didn’t this table turn out beautifully? Although, there was a tremendous amount of sanding done, I did most of it by hand so I didn’t remove all of the character and history. Those marks are part of its story and needed to still be there.


